Microsoft PowerPoint – Saving Your Presentation
Course - PowerPoint Basic
Published on 5 Dec 2020 at 04:67

Saving Presentation –
Saving your presentation is a good practice before you are going to leave your presentation for some time. It prevent the data loss. Follow these simple steps to save your presentation so you can edit it after a short break –
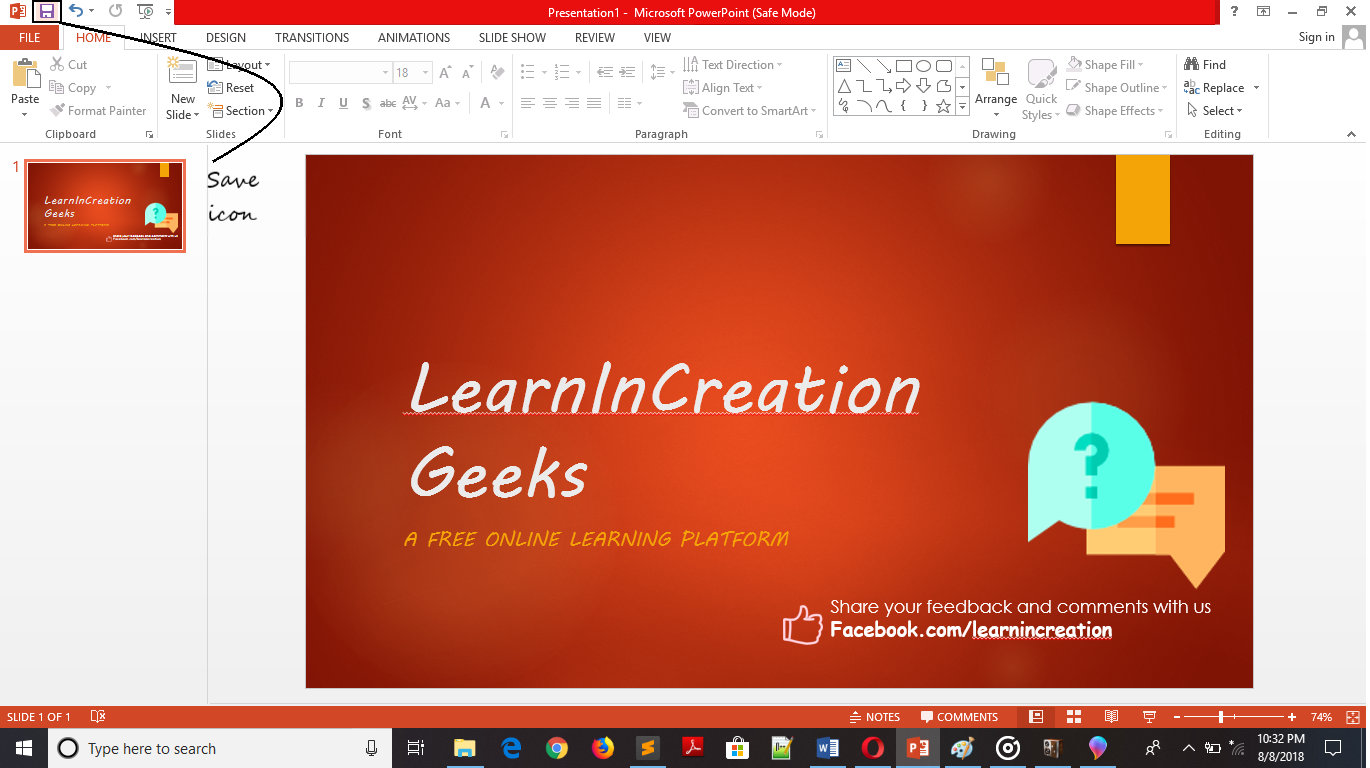
- There are lot many method to save your presentation. First, go to Quick access toolbar and click on “Save icon”.
- You are saving your presentation for first time, hence a new window of Save As will open to select file location and input a file name.
- In Office 2013, first he ask for location and after selecting location of file, a Save As window will open to input the file name.
- After input the file name click on “Save” button.
- Your presentation will save on selected location.
Second method to save your presentation is simple than first one. To save you presentation simply press Ctrl + S and a new window of Save As will open to enter file name and to choose location. Input the required field and your file is save, and you are free to go for a short break.
Wait!!
What you will do next time to save your presentation?
Second time when you want to go for a short break, again you need to save file. Will this long procedure repeat every time?
No, you need to enter file name for the first time only, second time, when you want to save your presentation you can simply press Ctrl + S to save your presentation or can click on “Save icon” in Quick access bar.
Share Your Knowledge
A Campaign to Learn
If you know something well enough, share it with others.Mail us your own written article and we share it with other students, on our portal with your name !!
Read MoreIs this helpful ?
Give us your feedback, review or rate us so, we can improve ourself in order to gives you Best !!