Microsoft Word – Quick Access Toolbar and Ruler
Course - Microsoft Word
Published on 5 Dec 2020 at 04:67

Customizing Quick Access Toolbar
In this section , we learn about How to Customize Quick Access Toolbar –
- Here again you will see two column Choose Command from and Customize Quick Access Toolbar.
- Select your desired command from the list and click on ADD button.
- You can see the new command added to the Quick access toolbar.
- Now simply close the dialog box just press on OK and then on Close.
The Ruler –
The ruler allows us to change the format of document quickly by changing its alignment and so on. It’s located below the main toolbar. If you doesn’t see the ruler and want to display it then follow these steps-
- Click on View
- Checked the Option of Ruler.
- Ruler will display.
- Left tabs –
- Center tabs –
- Decimal tabs –
- Bar tabs –
You can change the tab setting of ruler bar, following symbol represent the each types of tabs setting. You learn more about tabs setting in Tab section.
To set the left aligned tab. Right tabs – To set the right aligned tabs.
To set the centered tabs.
To set the decimal aligned tabs.
To insert the verticals line in the paragraph.
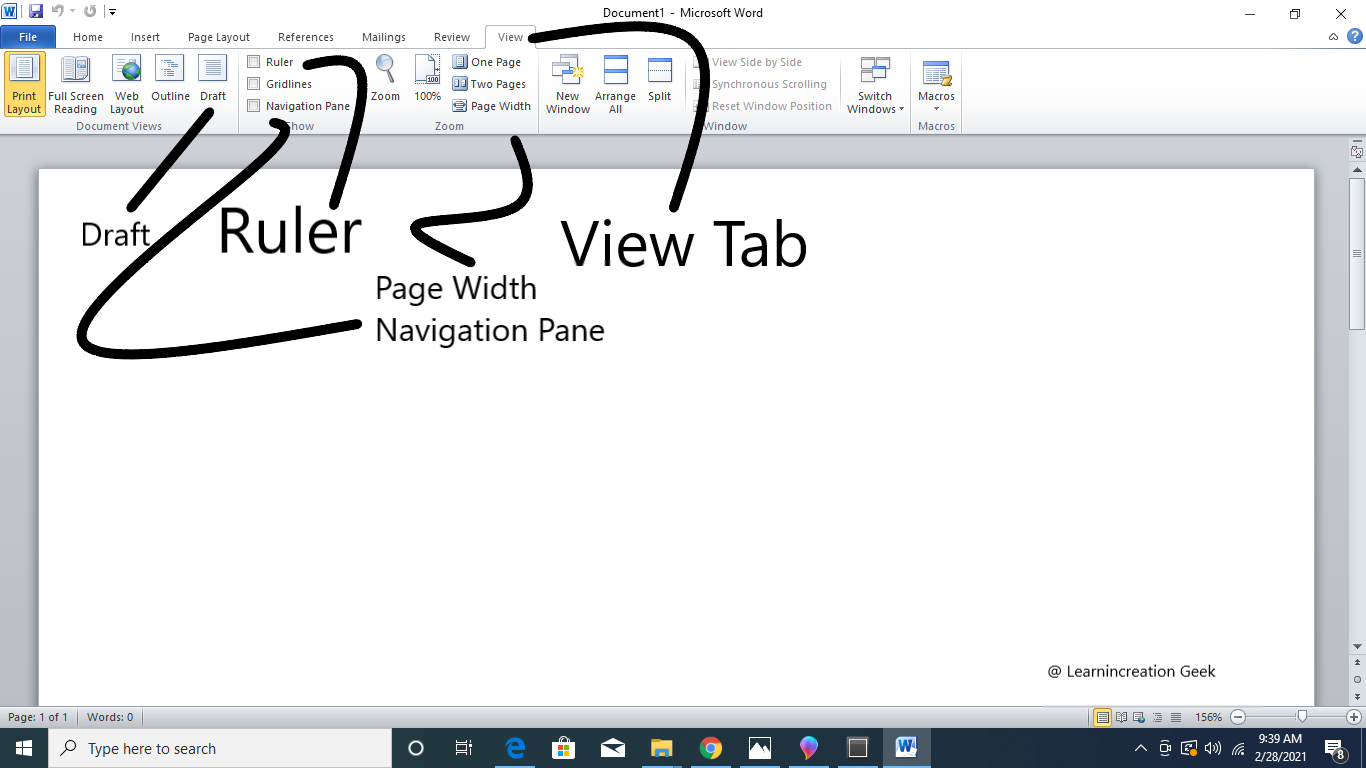
Image Showing Ruler and Other Tab and Features
Text Area
Text Area is an area assigned to write document text which located below the ruler bar and it’s white in color. The blinking cursor (vertical lines) is present in text area to type the documents.
Share Your Knowledge
A Campaign to Learn
If you know something well enough, share it with others.Mail us your own written article and we share it with other students, on our portal with your name !!
Read MoreIs this helpful ?
Give us your feedback, review or rate us so, we can improve ourself in order to gives you Best !!